 |
| Doona cover and cushions |
 |
| The dresser I did up. |
I mentioned in the last post about DIYing a bedhead. Unfortunately it wont be happening in the short term-We would need a new base for the bed, and it won't fit into our budget a the moment. :( The current bed frame has a 'foot' on it, and I don't think we could cut it off without impacting on the structural soundness of the bed. Basically if we cut the leg posts off below the metal foot, I don't think the legs would be stable enough.
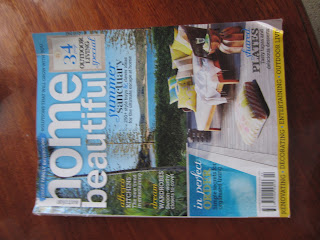
BUT, in saying that I would love to do this idea from the Feb 2013 Home Beautiful.
 |
| Sorry it's sideways... |
 |
| I made it bigger so you could see... Aren't I nice? |
Terrible photos-white on white on white-but it is pressed metal (often used as splash back) glued to a MDF backing, with a wood frame, all painted white. You can't really see the detail in this picture, but it is really pretty.
Or a pretty standard wrap batting and fabric around some MDF and staple. They are pretty common these days. Either way, I think it is a while off.
Meanwhile, this is our current window coverings. Expensive. My 2 year old nephew visits, and needs something to block out the light for his sleeps. As you can see by the glass, privacy isn't an issue. Our bedroom has zero window coverings at this stage. I like waking up naturally to light-although in a QLD summer when it gets light at 4 in the morning it is a bit less than ideal!
A few people mentioned the weird box things next the the cupboard. Here's why. The first picture below used to be a hallway once upon a time but they turned it into some stairs when they built it out. The VJ wall on the right backs on to the cupboard in the blue room. When you turn right to continue down the stairs you can see what happens to the roof. This is where the stepped boxes come into play. The little ledge that runs along the left side is floor level of the top floor.
 |
| The first level of stairs |
Look at that lovely green. Hope those weird boxes make a bit more sense now-so you don't hit your head.
Blue room list
New bedhead
New rug
Hang art (and buy)
Hang mirror (and buy)
Bedside tables
Paint the cupboard doors
Repaint (although this will be one of the last rooms we get to, I like the colour)
Oh-writing that list shows me that we still have quite a bit to do...


No comments:
Post a Comment
Tell me what you think-I love to hear from you!