Showing posts with label wedding. Show all posts

Monday, 23 September 2013

wedding photos

I met with my photographer yesterday, and picked up our wedding photos. I am so happy with them-they are incredible! I don't think L or I wiped the smile off our face all day after seeing them. I loved our wedding! 
My favourite part of them-all 800-odd-is how there is barely a photo when we (and our guests!!) didn't have an enormous smile on our faces. 


It's going to be tough working out which ones to frame! A good problem to have though!!

If you are interested in seeing a few more let me know and I will email you a link to our photographer's blog post. 

I've also put some social media buttons in my side bar- come and check it out! My pinterest account is much more active than my instagram. Lots of DIY, and room and decor ideas. There is also a bit of teaching and special education stuff, but you can ignore those boards!

Sunday, 15 September 2013

DIY lace bunting

Remember how I posted about about facing my sewing fears, and sewing lengths of lace bunting for reception decorations?
Here is a visual reminder:


The more I looked at it, the more I realised I wasn't entirely happy with how the ribbon was hanging-it kind of puckered a bit, and just didn't hang quite as well as I had hoped. What to do, what to do?

I unpicked it all, and started again! This time I researched it a bit more, and discovered biased binding was more appropriate. 18 meters of unpicking.... 

But.... it looked fantastic on the night, and I was much happier with it! You may even catch a back view of the bride... (excude the blurring of the faces...)


Saturday, 14 September 2013

DIY 3D guestbook alternative

While trawling websites, I also fell in love with guest book alternatives. We did have a beautiful wooden guestbook also, which was made by a fantastic Australian Etsy seller called Lorgie. A friend  took polaroids and people signed the book. But I also wanted something else-something that wouldn't get put away on a shelf.


I loved the idea of people signing jenga pieces (some very tense nights have been had over jenga in our house!), and thought it would have been really fun to play in years to come, and look over the messages. It was up there for a long time.

image of Wedding Whimsy
link

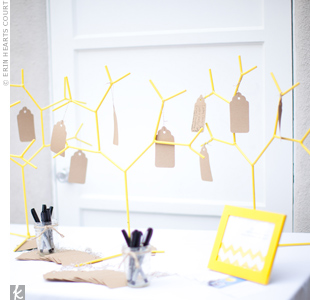
Similar to hanging tags on branches, but with a modern twist.

link
Mad-libs would have been funny to look back on, but as our wedding was a cocktail ceremony, people weren't going to be sitting at a table for long periods of time to fill them out. 
wedding guest book alternatives 1
link
link
There are just so many options out there, for whatever your interests or wedding theme or personal preference. 

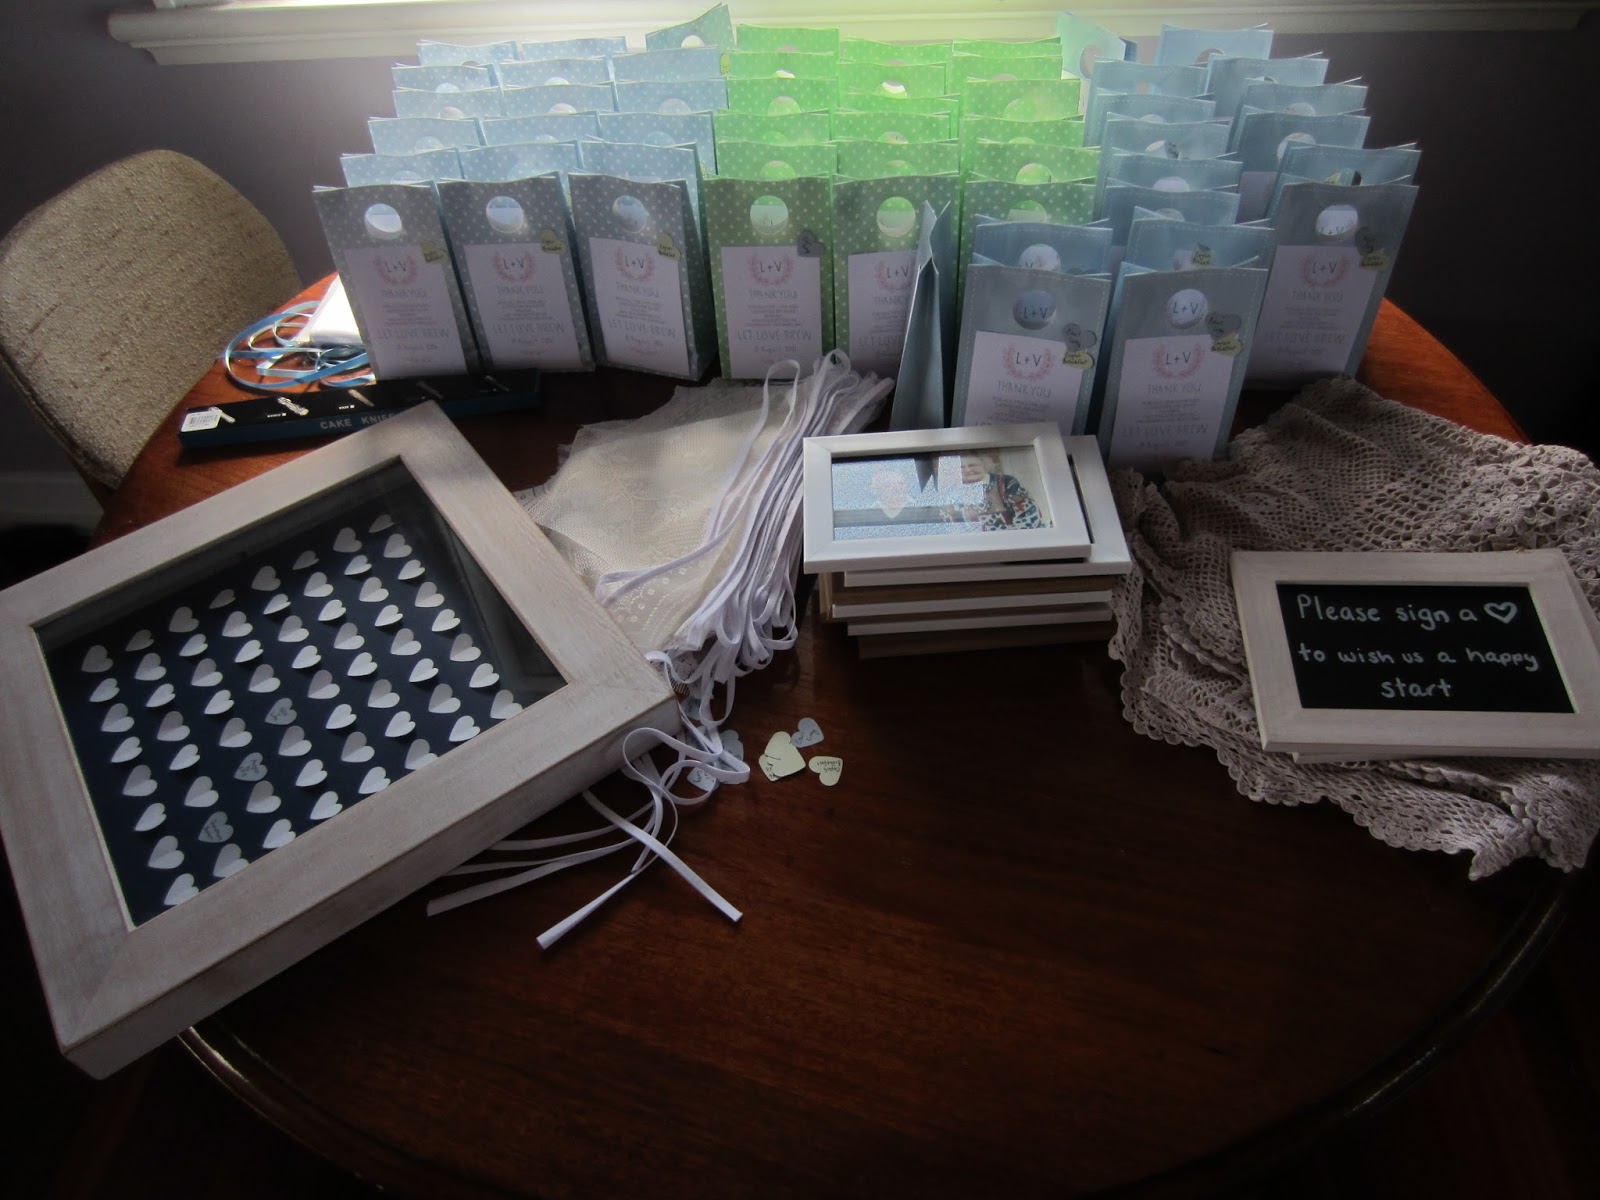
Eventually, I went with a 3D Hearts frame. Simple, easy to DIY, and something we can have on display. 
link
I reused the punch from our  tea bag favours to punch the hearts, mostly in white, but a few in blue. 

I then used my rotary paper trimmer (usually used for cutting up my school laminated resources) to score the hearts down the centre, from point to point. 

Using Kikki-K adhesive dots on one half of each heart I stuck them down, alternating which side of the heart was stuck down. 


The hardest part was working out the spacing, and keeping it consistent. I think I made it as hard as possible, but I printed off two pieces of graph paper, and taped on across the top, and slid the other across as I got to each row. 


I found a shadow box frame at Typo (that place always seems to have whatever random thing I am looking for lately!) in a whitewashed finish, to place it in. We haven't hung it yet-we need a bit of an artwork plan...

I'm so happy with how it turned out!

Sunday, 8 September 2013

DIY tea favours

One of our wedding DIYs was our favours. We had a cocktail wedding, so initially we weren't sure about how to do the favours, as they were sitting on a table near the signing books, rather than at people's place settings. We didn't want to make or buy something we were stuck with if they weren't all taken. Eventually after quite a while we settled on tea.


It has meaning to us, I drink tea by the bucket-load!-it's simple, not overly expensive, and we would be able to drink any leftovers ourselves, and remember our wedding. Pinterest and google were very helpful, and these are a few of the lovely DIY tea favour ideas I found. 
tea bag wedding favours
link
link
DIY Tea Bags
link
Tea Bag Wedding Favours
link
link


link
link - the lovely lass creative- a wonderful Australian blog
I loved all of them, but nixed a few-I didn't want to be left with lots of test tubes, I didn't want to spend days sewing the bags (plus I left it too late, even if I had the skills!), and scooping it in.  I combined a few ideas, but mostly took my inspiration from the Martha Stewart DIY tea bags idea (the white china with red hearts).

I got out my heart shape punch, and started punching. I did green for English Breakfast, and blue for Earl Grey.


I then cut a slit in the top of the heart. Some tutorials suggested staples, which I didn't like (even with mini staples), or glue and I didn't want to wait for it to dry, or cut double the amount of hearts.


I then removed the original tags, and slid the string through,
and wrapped it around,
and bagged them up.


I was originally thinking of white, or kraft paper bags, but found these at a dollar store at Chermside, and thought they were even better. I had some labels printed to match our invitations, and stuck them on with double sided tape. I also wrote the type of tea on some extra hearts, so guests would know what they were getting.


Friday, 6 September 2013

wedding DIY

We had our wedding on the 31st of August, and it was the most incredible day.

Some of our DIY to take to the reception

We had a mix of DIY and having suppliers do things at our wedding. We tried to keep costs down where we could, and we paid for most of it ourselves, with some gifts from our parents, but neither of us could comprehend spending 10s of thousands of dollars on one day. Mum said a few times that she wished she could win the lottery to help us more, but before, and definitely after our wedding we both agreed that we wouldn't change a thing.

It was important to us that we didn't have to call in too many favours on the day to set things up, or stress ourselves out to do it ourselves. L and I also work long hours so didn't want to put too much pressure on ourselves in the lead up-and by that I mean myself. I'm a perfectionist, I don't like people coming over unannounced because my house mightn't be clean, so I was already stressed about the wedding, without adding extra stress!

Often I have great ideas, or see something on the net that looks amazing and easy, but it doesn't always turn out like I hoped (quite a few of the art and craft projects I do with the kids at school!). I'm definitely aware of my limitations, and big on the keeping it simple principal!!

I can't wait to show you all of the things I made!

Thursday, 5 September 2013

on the fence

I'm back again-with time now!

Our wedding on the weekend was AMAZING. It was honestly just perfect! L and I had the best, most amazing day. It was everything we ever could have hoped for. I will post a few pictures when we get them back, and will have a few posts of some of the DIY I did. We had a 'mini-moon' at Little Cove in Noosa for a few nights, and are going away next year for our proper honeymoon-probably to Sri Lanka, but that may change. 

The boys worked so hard to finish off our fence in the lead up to the wedding, and it looks so good! 

It wasn't without problems though, and it was a bigger job than expected (aren't they all in DIY land??)

The fence was to run from the side of the house to the pole (needing the clothes line moved down a set of poles), then panels between the poles running up alongside the path. Then a gate over the path, and panels across to the fence. 


You can probably already see two of our problems. We needed to have the tap moved to the second pole. Another was the giant rock in between our post holes,


AND pipes running though a post hole.


But, nothing a jackhammer and sleeving the pipes, and a plumber couldn't fix! L had quite a few weekend shifts in the lead up to the wedding, so most of the work was done on midweek days off, meaning few progress shots, but I got a few in the early mornings before work (sorry for dodgy lighting!)
Broken up rock, and our cemented stirrups (bad i-phone pic!)
3 panels done, 1 coat of oil, still some finishing off to do

And here is the (almost) finished product! The boys still have to hang the gate (they were a few slats short), but it looks great! It blocks off the side of our house, gives us some privacy for our washing, and will be lovely a dog proof!


You can see how much our block drops off already here!

Here is our almost complete gate. We have a few more panels to build on the other side of the house now, and some 'normal' fences too. 

This amazing weather had made me so excited to get out into the garden, and we have some more plans in the works! 

LinkWithin

Related Posts Plugin for WordPress, Blogger...